写在前面
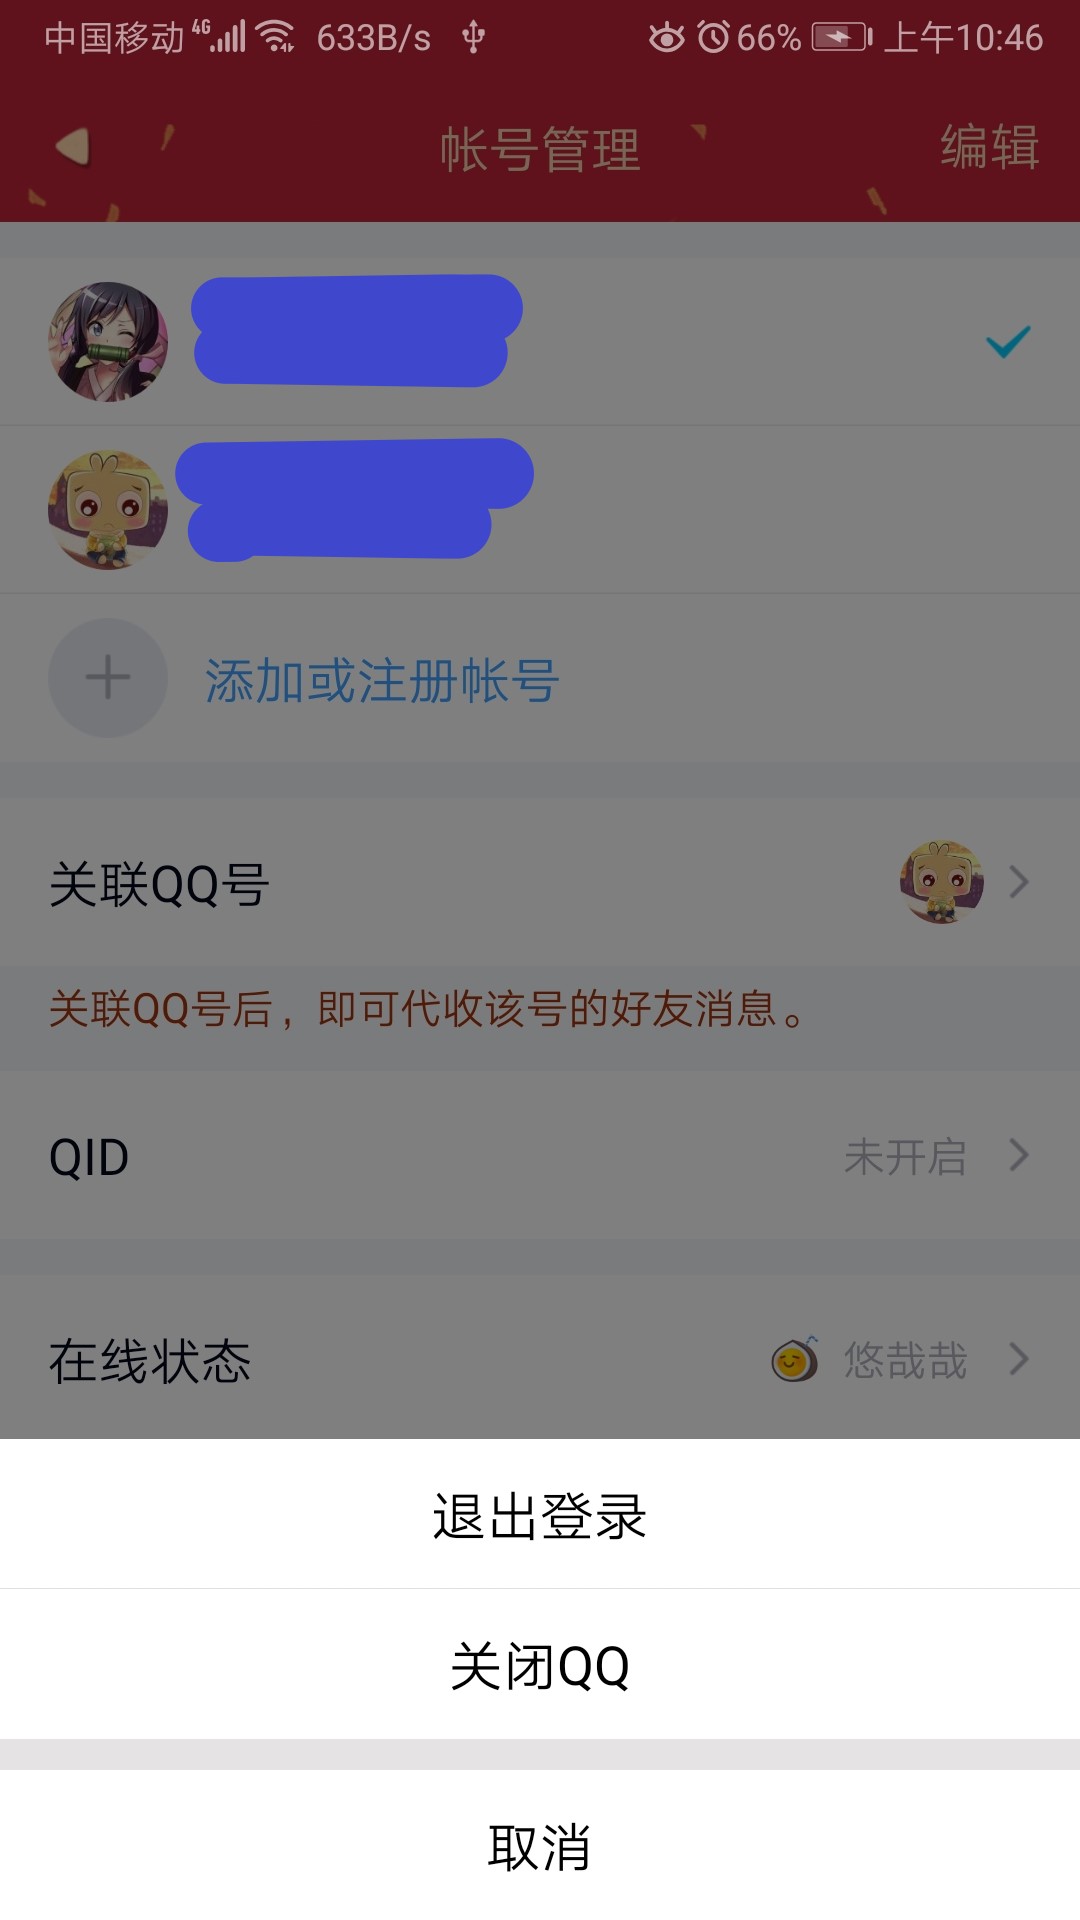
PopupWindow 一个非常常用的一个组件。比如我们在 QQ 中,点击退出的按钮时,它弹出的的选项就是使用的是 PopupWindow。而且,在编写代码的时候,步骤也和 ListView 类似。
这个是 QQ 退出时,使用 PopupWindow
这个是华为天气的界面,所使用的 PopupWindow

示例
布局文件
布局文件的示例非常简单,只要一个按钮就行
<?xml version="1.0" encoding="utf-8"?>
<LinearLayout xmlns:android="http://schemas.android.com/apk/res/android"
    android:layout_width="match_parent"
    android:layout_height="match_parent"
    android:orientation="vertical">

    <Button
        android:id="@+id/button_pop"
        android:layout_width="150dp"
        android:layout_height="wrap_content"
        android:layout_gravity="center_horizontal"
        android:text="pop"
        android:layout_marginTop="45dp"/>

</LinearLayout>
自定义 popup 组件
layout_pop.xml 文件
layout_pop 中是一个菜单布局文件
<?xml version="1.0" encoding="utf-8"?>
<LinearLayout xmlns:android="http://schemas.android.com/apk/res/android"
    android:orientation="vertical" android:layout_width="match_parent"
    android:layout_height="match_parent">

    <TextView
        android:id="@+id/good"
        android:layout_width="match_parent"
        android:layout_height="wrap_content"
        android:text="好"
        android:textSize="14dp"
        android:padding="10dp"
        android:gravity="center"/>
    <View
        android:layout_width="match_parent"
        android:layout_height="1dp"
        android:background="#aaa"
        />
    <TextView
        android:id="@+id/general"
        android:layout_width="match_parent"
        android:layout_height="wrap_content"
        android:text="一般"
        android:textSize="14dp"
        android:padding="10dp"
        android:gravity="center"/>
    <View
        android:layout_width="match_parent"
        android:layout_height="1dp"
        android:background="#aaa"/>
    <TextView
        android:id="@+id/bad"
        android:layout_width="match_parent"
        android:layout_height="wrap_content"
        android:text="差"
        android:textSize="14dp"
        android:padding="10dp"
        android:gravity="center"/>

</LinearLayout>
java 代码
首先需要声明一个 PopupWindow 的组件,但是它的声明方式和普通的组声明方式又是不相同的。我们在声明一个 Button 组件时,都是来使用 findViewById 这个方法来获取我们创建的组件。而这个组件就不相同了。
它是先创建 PopupWindow 的一个实例对象,然后将我们自定义的组件放在 PopupWindow,同时设置好宽和高,最后再设置其显示方式。
它的显示方式有三种:
- showAsDropDown(view) 默认在最下方
- showAsDropDown(view, offsetX, offsetY) 在下方,可以设定具体的偏移量
- popupWindow.showAtLocation(view, gravity, x, y) 设置任意的位置
showAsDropDown
button = (Button) findViewById(R.id.button_pop);

button.setOnClickListener(new View.OnClickListener() {
    @Override
    public void onClick(View v) {
        View view = getLayoutInflater().inflate(R.layout.layout_pop, null);

        TextView good = view.findViewById(R.id.good);
        TextView general = view.findViewById(R.id.general);
        TextView bad = view.findViewById(R.id.bad);

        popupWindow = new PopupWindow(view, button.getWidth(), ViewGroup.LayoutParams.WRAP_CONTENT);
        popupWindow.setOutsideTouchable(true);
        popupWindow.setFocusable(true);
        //
        popupWindow.showAsDropDown(button);
    }
});
运行效果
showAsDropDown 指定偏移量的
button = (Button) findViewById(R.id.button_pop);

button.setOnClickListener(new View.OnClickListener() {
    @Override
    public void onClick(View v) {
        View view = getLayoutInflater().inflate(R.layout.layout_pop, null);

        TextView good = view.findViewById(R.id.good);
        TextView general = view.findViewById(R.id.general);
        TextView bad = view.findViewById(R.id.bad);

        good.setOnClickListener(new PopupItemClickListener());
        general.setOnClickListener(new PopupItemClickListener());
        bad.setOnClickListener(new PopupItemClickListener());

        popupWindow = new PopupWindow(view, button.getWidth(), ViewGroup.LayoutParams.WRAP_CONTENT);
        popupWindow.setOutsideTouchable(true); // 点击按钮之外的内容,菜单消失
        popupWindow.setFocusable(true); // 再次点击按钮时,菜单消失

        popupWindow.showAsDropDown(button, 120, 5);
    }
});
运行效果
showAtLocation 指定位置
在展示位置之前,需要获取到它的父空间,也就是 activity_popup_window,得到了父空间就可以随意的显示 PopupWindow 的位置。
button = (Button) findViewById(R.id.button_pop);

button.setOnClickListener(new View.OnClickListener() {
    @Override
    public void onClick(View v) {
        View view = getLayoutInflater().inflate(R.layout.layout_pop, null);

        TextView good = view.findViewById(R.id.good);
        TextView general = view.findViewById(R.id.general);
        TextView bad = view.findViewById(R.id.bad);

        popupWindow = new PopupWindow(view, button.getWidth(), ViewGroup.LayoutParams.WRAP_CONTENT);
        popupWindow.setOutsideTouchable(true);
        popupWindow.setFocusable(true);

        View rootview = LayoutInflater.from(PopupWindowActivity.this).inflate(R.layout.activity_popup_window, null);
        popupWindow.showAtLocation(rootview, Gravity.BOTTOM, 0, 0);
    }
});
运行效果
参考资料
部分参考于:https://blog.csdn.net/harvic880925/article/details/49272285
项目的代码都在 AndroidStudy 的 github 仓库中。
请勿发布违反中国大陆地区法律的言论,请勿人身攻击、谩骂、侮辱和煽动式的语言。